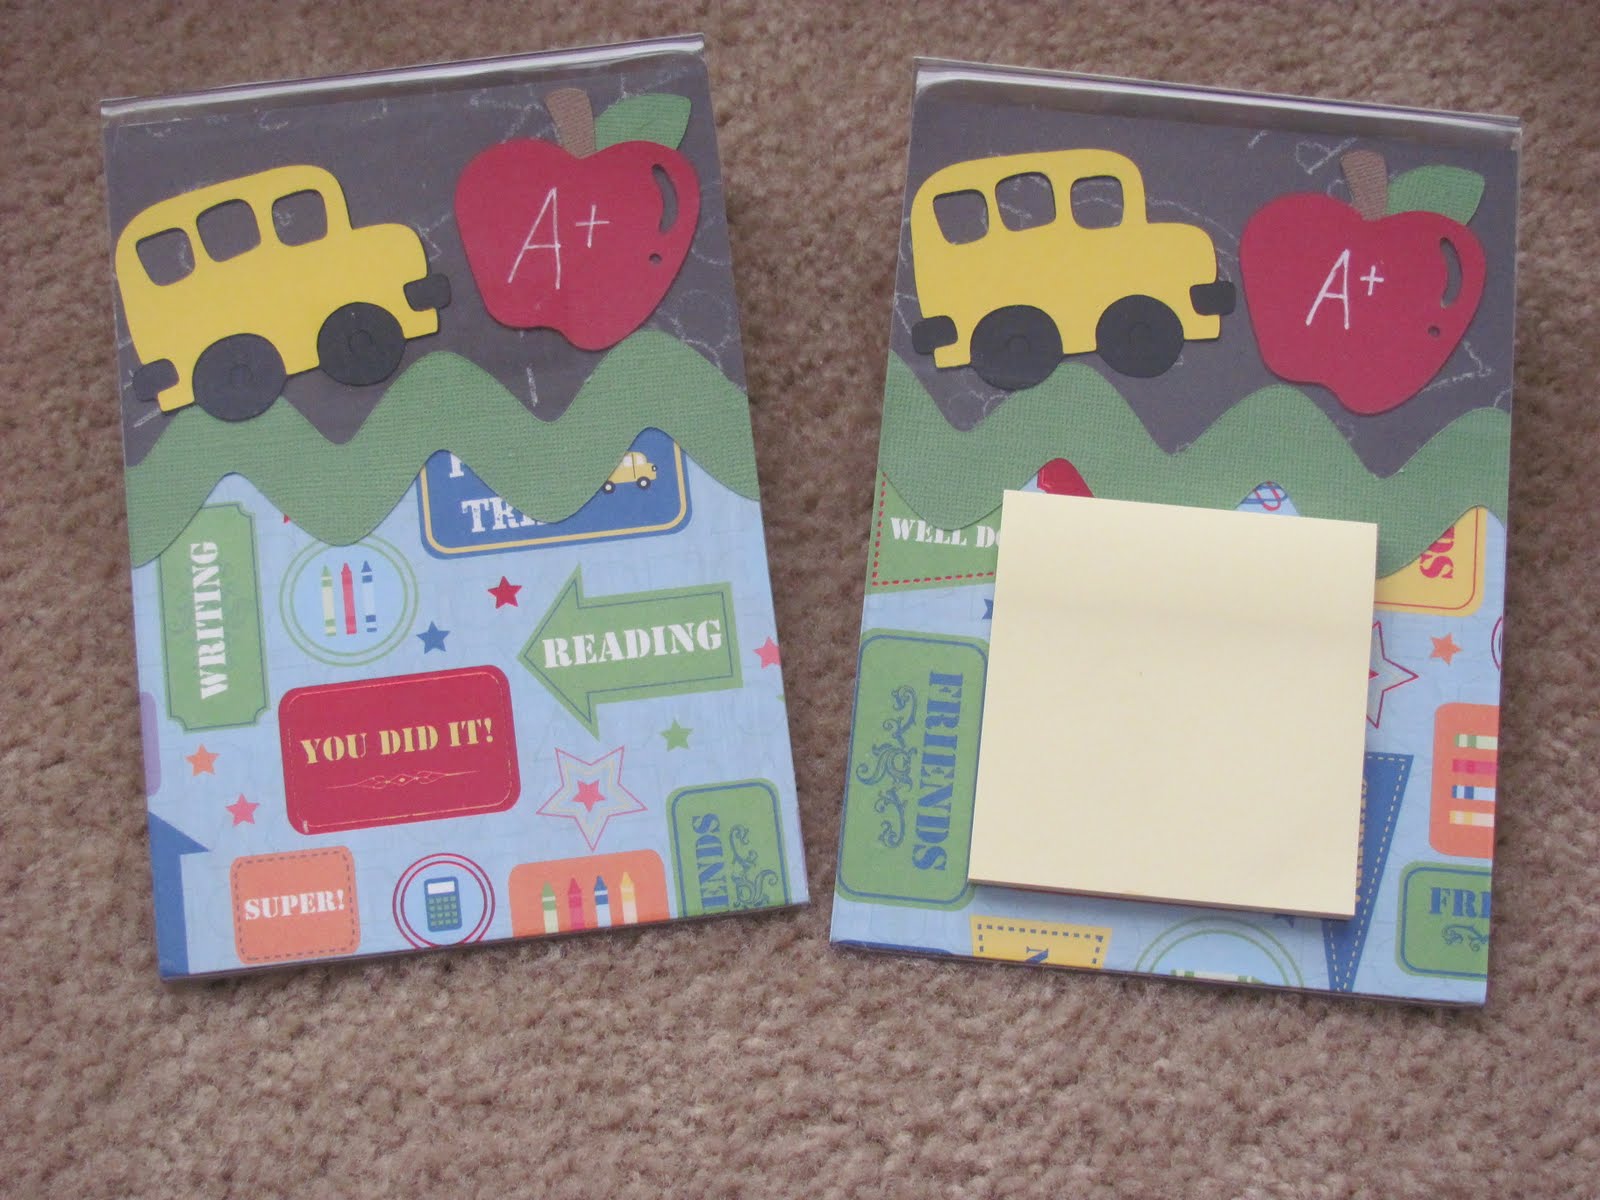
Hi friends!! Here is a teacher gift that I made for my kids to give to their teachers. I know it seems like it is late but they go to school all year round so their last day of school isn't until this Thursday. I saw this idea on the old Cricut Messageboard. It is so easy and simple to make. All you have to do is buy some acrylic picture frames. I found a few at the Dollar Tree. Scrap a 5 x 7 piece of paper and slide it into the frame. The paper is from the Grade School stack from DCWV. The zig zag is cut from the Plantin Schoolbook cartridge at 1 1/2". I did have to trim it down some as it was bigger than what I needed. The green card stock is golf course from coredinations. The apple and bus is from the Doodlecharms cartridge. I cut them at 2". The bottom part is a 2" x 5" strip of paper. I added the letters using the Roly Poly feature of the Plantin Schoolbook cartridge. They were cut at 1 1/2". I added some faux stitching and then glued it to the outside of the bottom. I did that because the stickers didn't want to come completely off. I tried just about everything to get all the sticky stuff off. Just slap some post it notes onto the top of the frame and there you go!! I'd love to hear what you've done for teachers! Have a great day!!
Tuesday, June 28, 2011
End of Year Teacher Gifts
Hi friends!! Here is a teacher gift that I made for my kids to give to their teachers. I know it seems like it is late but they go to school all year round so their last day of school isn't until this Thursday. I saw this idea on the old Cricut Messageboard. It is so easy and simple to make. All you have to do is buy some acrylic picture frames. I found a few at the Dollar Tree. Scrap a 5 x 7 piece of paper and slide it into the frame. The paper is from the Grade School stack from DCWV. The zig zag is cut from the Plantin Schoolbook cartridge at 1 1/2". I did have to trim it down some as it was bigger than what I needed. The green card stock is golf course from coredinations. The apple and bus is from the Doodlecharms cartridge. I cut them at 2". The bottom part is a 2" x 5" strip of paper. I added the letters using the Roly Poly feature of the Plantin Schoolbook cartridge. They were cut at 1 1/2". I added some faux stitching and then glued it to the outside of the bottom. I did that because the stickers didn't want to come completely off. I tried just about everything to get all the sticky stuff off. Just slap some post it notes onto the top of the frame and there you go!! I'd love to hear what you've done for teachers! Have a great day!!
Thursday, June 9, 2011
Baby Mini-Album
I loved this star paper and didn't have enough of it to put it on both sides of these two pages. I put it on the left side and decided to do plain white card stock on the other side. The title is cut using Make The Cut software and welding the letters together. The font is Script MT bold. The moon comes from the New Arrival cartridge. The star was placed in between the pages to add more photos or just for journaling.
This star was cut using the George cartridge. I first cut it from the cereal boxes and then added the paper on top. This gives it the added sturdiness for looking through the album. I inked the sides of the star and added some stamping and a button.
I loved this baby bottle paper. I didn't have much of it but had this size. I decided that it would be a great mat and pop against the white card stock. The BABY blocks were cut using the New Arrival cartridge. I pop dotted them to add dimension. They were cut at about 3".
I decided to do a page where the parents could put pictures of the baby through the first year. I added an envelope which was cut using the fit to page feature. The envelope comes from Plantin Schoolbook. I folded the flap inside the envelope so that the tags would stick out. I added a brad that says "Little Cutie." The tags were cut at about 6".
I saw this ruler at Michaels this last weekend when I was there. I thought it would be a perfect addition to this album. I decided to do a giraffe beside it since giraffes are tall. The giraffe is from the New Arrival cartridge. It is cut at about 6". First I cut on the brown card stock and then the polka dot yellow paper. I chalked the edges for an added touch. The title to the page was created using Make The Cut software and welding together the letters using Script MT Bold.
These are the tags that I made to put in the envelope. I wanted them to be used for adding pictures throughout the first year. I have the hand and footprints for the newborn pictures. The baby is due in July so I added a few pages for holiday pictures. One for fall or Halloween, Christmas, winter and then the first birthday. I added some embellishments at the bottom. The hands and footprints have footprints from the New Arrival cartridge. They were cut at about 2 inches. The fall tag has a pumpkin. The pumpkin comes from the Doodlecharms cartridge. The Santa Face tag has a reindeer cut from Doodlecharms as well. The nose is stickled with red for a Rudolph look. The winter tag has snowflakes from the Doodlecharms cartridge too. I stickled them as well. It was really hard to not do any sparkles. I was able to incorporate it without it getting to be to girly! :-) I added ribbon to the tops and stapled them to the tag.
This was the back of the album. I have been trying to make sure that I sign my projects. This was what I came up with as I ran out of ink in my printer and couldn't print anything out.
Tuesday, May 17, 2011
Birthday Invitations
One of my daycare parents had asked me if I could make her baby invitations to her first birthday party. I was so excited!!! I was a bit nervous though because I wanted her to love them!! I wanted it to be over the top too!!! This is what I came up with. The invitations came from a package of plain cards with envelopes. We bought most of the supplies at JoAnn's. The cupcake came from the Doodlecharms cartridge. It was cut at 3 1/2" using the blackout feature. I embossed the icing with the swirl embossing folder. The number one candle came from Sweet Treats and was cut at 1 3/4". I had to cut it twice. Once with yellow paper and then again with the flower paper. I then cut the flame off of the flower candle. The scalloped border is from the Plantin Schoolbook cartridge. It is cut to fit the length of the card which is 5 1/2". You can't really tell but there is a layer of transparency that I have printed out from my computer. The layer says Sugar and Spice and everything nice.......That's what little girls are made of. I created this on my computer and printed them onto the correct transparency. I held the card and the transparency together with an eyelet.
This is the inside of the invitation. I printed from my computer the party details which I have covered up at the bottom. I wanted to do a pop up and fell in love with this cake that came from Extreme Cards and Papercrafting. It took a little bit to put together as I had about 25 to make in all but it was worth it. I just love this dotted paper. The scalloped circle is from Sweet Treats again. It is one of the flowers.
Here is a close up of the cake. The one is cut using Sweet Treats and using the shift feature and the one candle button. It is 1 3/4". I discovered a feature on my Cricut. The flip button!! I pushed the flip button and redid the one and it flipped it. I used a wire through the center of the cake to be able to glue a one onto the top of it. It was interesting trying to work out all the details of this but in all, she was happy with the end results and that is all that matters!!!
Wednesday, February 16, 2011
Valentine Thank You Cards
Lipstick (pink) paper from Coredinations. I used the Doodlecharms cartridge for the hearts. Both hearts are cut at 3". Then using the Doodlecharms cartridge again, I pushed shift and the scalloped heart to create the inside heart. I cut this using paper from Me & My Big Ideas. (Not sure about the name of it. It isn't printed on the backside.) I then stamped the Thank You using cranberry ink to the same lipstick paper. Cut it out giving just a little tiny border around the edges of the stamped image. I then cut out from white cardstock a rectangle to go under the pink Thank You. I don't measure a whole lot when doing this. I just eye it and go from there. I matted them together and then attached them to the card. I wanted use some cute brads on each side of the Thank You mat but I didn't think there was enough room so I just glued it down. I then took the heart stamp (picked up somewhere a long time ago) and using the cranberry ink, stamped the image inside the card. Voila!! Until next time......
Hugs,
Stephanie
Sunday, February 13, 2011
Valentine Treat Bags
Here is my Valentine's treat bags for my children, daycare children, and daughter's teachers. The paper is mostly cardstock I picked up from the craft store. I used Design Studio to make a rectagle the size of 5 x 6". The bee is from MyScrapchick.com. It comes from the Valentines cut file. The bee is called Bee Mine. I used Make The Cut to enlarge the bee to about 2 inches. I chalked the cheeks and used some red sparkly pipe cleaners for the antenna. The heart wing is pop dotted. The hear comes from Doodlecharms cartridge. It is cut at 2 1/2". I used the scalloped heart and if you push shift and the scalloped heart then the plain heart will cut out. I hand wrote bee mine and the mouth with my ZIG black double-sided marker. I folded the red rectangle in half to create the topper for the treat bags. The tread bags were picked up a long time ago. I think they either came from Wal-Mart or the Dollar General - not to sure. They are 5 inches wide so that is why the red rectangle had to be 5 inches wide. I wanted enough room for the bee and heart to be glued on to so I thought that 6 inches folded in half would give me 3 inches to work with and that would be plenty of room to put the 2" bee and the 2 1/2" heart. I filled the treat bags with a little bit of candy, folded the tops down and then decided to staple the bag to the topper. I wanted to use ribbon but I was in a crunch for time and so the quickest was to use the stapler. Not as cutesy but it gets the job done.